
CloudEdge is a video monitoring app designed to help users keep an eye on their property. The devices from CloudEdge vary in price, however, they are supported by multiple virtual assistants.
Videos from the cloud monitoring can be seen from anywhere you want. Though, you are also getting the option of sharing the captured moments in the shape of images.
In this article, I’ll discuss a method that’s gonna help you download CloudEdge for PC. So that, you can use this mobile app on Windows and Mac devices.
What’s Required to Download CloudEdge?
- An Android emulator e.g; BlueStacks, Nox App Player, or LDPlayer.
- A computer with an active internet connection.
- PC should have at least 4GB RAM and 5GB free disk storage.
BlueStacks vs Nox vs LDPlayer
| BlueStacks | Nox App Player | LDPLayer |
| Consumes fewer amount of RAM | Consumes 53% more RAM than BlueStacks. | Consumes 26% more RAM than BlueStacks. |
| 10% CPU consumption. | 37% CPU consumption. | 145% higher CPU consumption. |
| The boot time is 9 sec. | The boot time is a lot more and 133% slower. | The boot time is a lot more and 122% slower. |
| Installs APK files as soon as 9 seconds. | It takes double the time to install an APK file. | It takes 20% more time to install an APK file. |
| Android 11 | Android 9 | Android 9 |
Why BlueStacks?
In my experience, BlueStacks is the most efficient emulator on the market. Becuase currently its the only free Android emulator to offer Android v11 emulation.
Also, BlueStacks consumes fewer amount of resources, so you can run other apps in the background.
That’s why I’m recommending you use this emulator to get this cloud video monitoring app on your computer.
How Do I Download CloudEdge for Windows PC and MacOS?
In the following steps, I’ll use the BlueStacks emulator to demonstrate downloading the CloudEdge app on a computer.
The procedure of emulating Android OS on a computer works the same with other emulators like LDPlayer and Nox App Player. You can choose another emulator if you don’t like BlueStacks.
☑ Download the BlueStacks file from its official website.
☑ Launch the downloaded file of the emulator to initiate its installation wizard.
☑ Keep following the onscreen prompts, until the emulator is installed.
☑ After successfully installing BlueStacks, launch it on your computer.
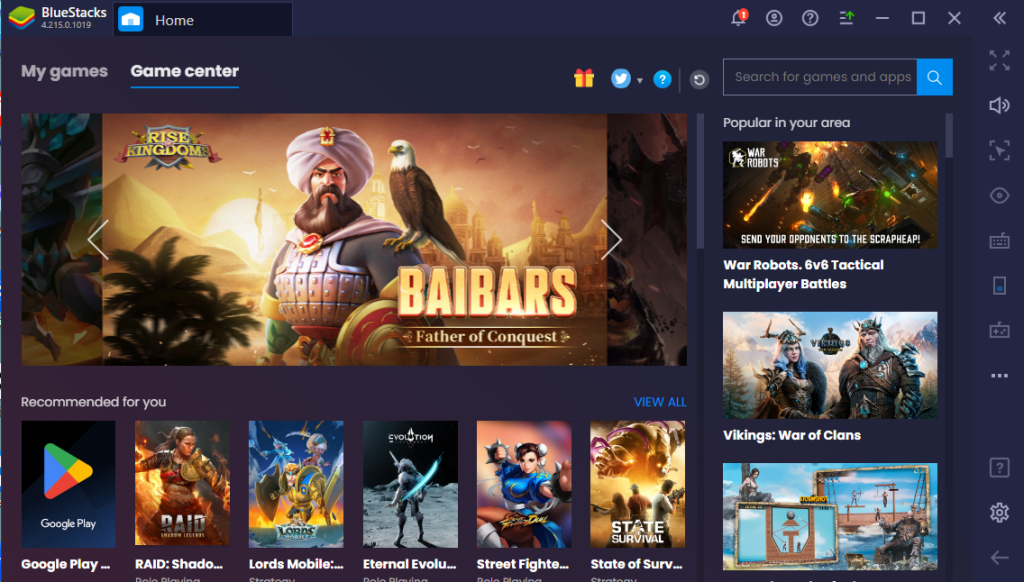
☑ From its home interface, click on the Google Play Store’s icon.
☑ Complete the Google ID Sign-In procedure.
☑ Use the Play Store’s search bar to locate the CloudEdge app.
☑ Click on the Install button, from its installation page.
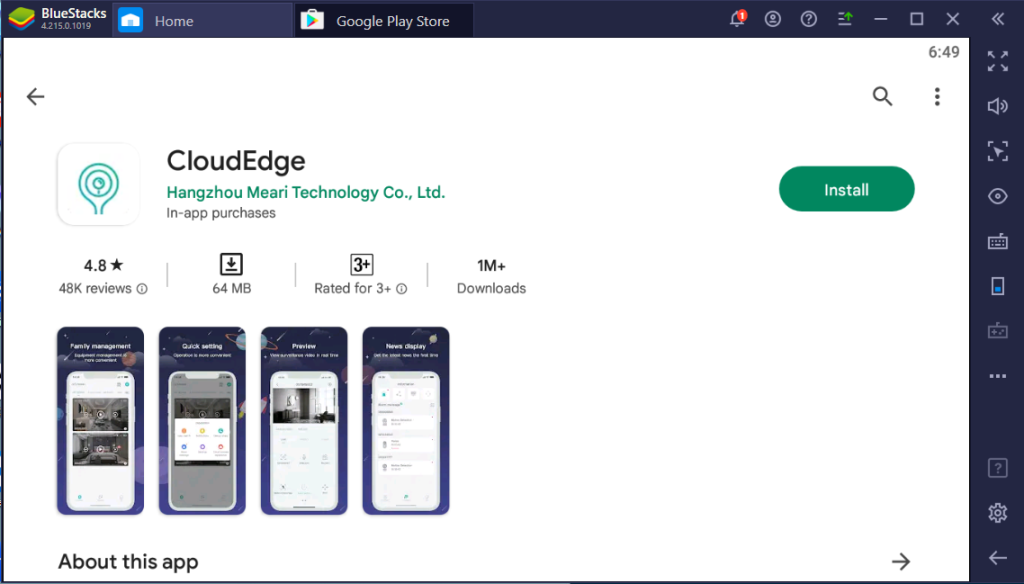
☑ Once CloudEdge is installed, click on the Open button to launch it.
Yes, the CloudEdge app is free to download. One can download it via Apple Store or Google Play Store.
CloudEdge is compatible with the following devices:
i. Amazon Alexa.
ii. Android.
iii. Apple HomeKit.
iv. Google Assistant.
Final Words
That’s all on how to download CloudEdge for Windows and Mac devices. In case you have any queries in your mind related to Android emulation, feel free to ask us via the comments section.