
If you’re looking to enhance your browsing experience by accessing geo-restricted content and ensuring online privacy, Proxytube is a great solution. In this article, we’ll guide you through the process of downloading Proxytube for PC. Whether you’re a beginner or an experienced user, this step-by-step guide will help you get started with Proxytube and enjoy its benefits on your computer.
Introduction to Proxytube
Proxytube is a powerful software application that enables users to bypass internet censorship, access geo-restricted content, and maintain online privacy. It works by redirecting your internet connection through a proxy server, allowing you to browse the web anonymously and securely.
System Requirements
Before downloading Proxytube for PC, ensure that your system meets the minimum requirements:
- Operating System: Windows 8, 10, or 11
- Processor: Intel Core i5 or equivalent
- RAM: 4 GB or higher
- Storage: 500 MB of free disk space
It is important to note that these are the minimum requirements, and for the best experience, it is recommended to have a more powerful system configuration.
Step 1: Install an Android Emulator

Since the Proxytube app is designed for mobile platforms, you will need an Android emulator to run it on your PC. Android emulators simulate the Android environment on your computer, allowing you to use Android apps as if you were using them on a mobile device. One of the most popular Android emulators is BlueStacks, which we will use for this guide. Follow these steps to install BlueStacks:
- Visit the official BlueStacks website (www.bluestacks.com) using your web browser.
- Click on the “Download BlueStacks” button.
- Once the installer file is downloaded, double-click on it to begin the installation process.
- Follow the on-screen instructions to complete the installation.
- After the installation is finished, launch BlueStacks.
Step 2: Set up BlueStacks
Now that you have BlueStacks installed on your PC, you need to set it up before you can proceed with downloading the Proxytube app. Follow these steps to set up BlueStacks:
- Launch BlueStacks from your desktop or Start menu.
- Sign in using your Google account credentials. If you don’t have a Google account, you can create one for free.
- Once you are signed in, you will be taken to the BlueStacks home screen.
Step 3: Download and Install Proxytube
With BlueStacks set up, you are now ready to download and install the Proxytube app. Here’s how you can do it:
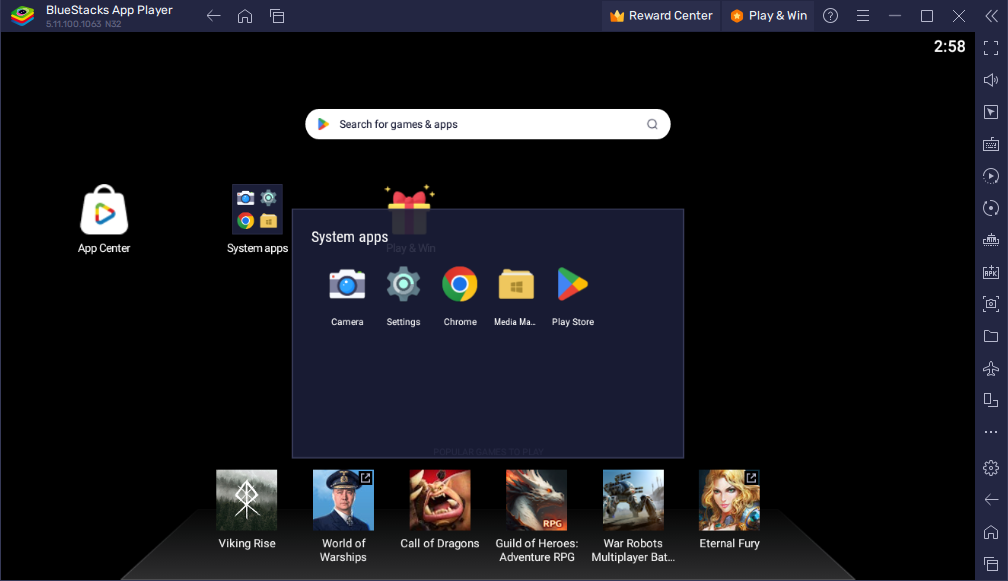
- Open the BlueStacks emulator on your PC.
- In the BlueStacks home screen, locate the Google Play Store app and click on it to open.
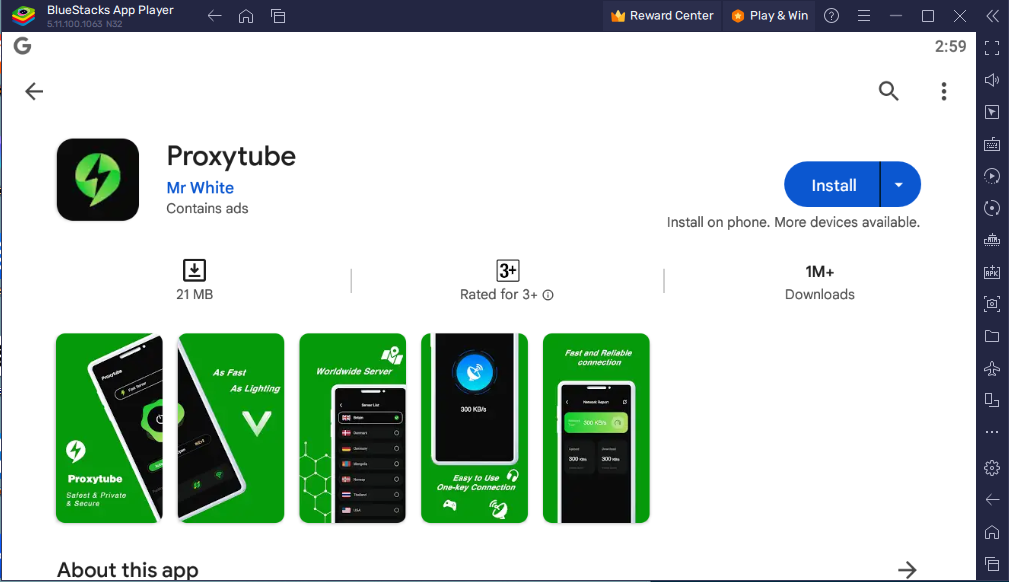
- In the search bar of the Play Store, type “Proxytube” and press Enter.
- From the search results, click on the official Proxytube app.
- On the app page, click on the “Install” button to begin the download and installation process.
- Once the installation is complete, you will find the Proxytube app icon on the BlueStacks home screen.
Step 4: Launch Proxytube
Once the installation is complete, you can launch Proxytube by finding its shortcut icon on your desktop or accessing it from the Start menu.
Step 5: Configure Proxytube Settings
Upon launching Proxytube, you’ll have the option to configure various settings. These settings include language preferences, auto-start options, and connection settings. Adjust these settings according to your preferences.
Step 6: Choose a Proxy Server
Proxytube provides a list of proxy servers located worldwide. You can choose a server based on your desired location or specific requirements. Select a proxy server that suits your needs from the available options.
Step 7: Connect to the Proxy Server
After selecting a proxy server, click on the “Connect” button within the Proxytube application to establish a connection to the chosen server.
Step 8: Verify the Connection
Proxytube will indicate whether the connection has been successfully established. You can verify the connection status within the application interface.
Step 9: Enjoy Proxytube on Your PC
Congratulations! You’ve successfully downloaded and set up Proxytube on your PC. You can now enjoy unrestricted access to geo-restricted content and enhanced online privacy while browsing the internet.
Conclusion
In this article, we’ve provided a step-by-step guide on how to download Proxytube for PC. By following these instructions, you can easily install and configure Proxytube to enhance your browsing experience and ensure online privacy. Enjoy seamless access to geo-restricted content and browse the internet with peace of mind.
FAQs
Q1: Is Proxytube free to download?
A1: Yes, Proxytube offers a free version with limited features. However, for enhanced functionality and access to a broader range of proxy servers, you may consider upgrading to the premium version.
Q2: Can I use Proxytube on multiple devices?
A2: Yes, Proxytube is compatible with various platforms and devices, including Windows, Mac, Android, and iOS. You can use a single Proxytube account to access the service on multiple devices simultaneously.
Q3: Does Proxytube slow down internet speed?
A3: Proxytube may introduce some minor overhead due to rerouting your internet traffic through a proxy server. However, the impact on internet speed is generally negligible, and you can still enjoy fast and seamless browsing.
Q4: Can I change the proxy server while using Proxytube?
A4: Yes, Proxytube allows you to switch between different proxy servers. You can choose a server from various locations to access region-specific content or change servers for better performance.
Q5: Is Proxytube legal to use?
A5: Proxytube itself is a legal software application. However, it’s important to note that the way you use Proxytube determines its legality. Ensure that you comply with the laws and regulations of your country and avoid any illegal activities while using Proxytube.