
In this article, I’ll demonstrate the method of downloading SlideScan for Windows PC and Mac. I’ve explained the step-by-step procedure for using the SlideScan app on your computer.
SlideScan is designed for individuals who want to create a soft copy of their old slides. It allows them to scan a slide using the device’s camera.
Once a slide is scanned, a user gets the option of editing his photo, as per his requirements. After editing the image, export it directly to the device’s storage.
The app gives two options for capturing a slide, either user gets to do it manually while holding the slide in front of a camera.
Else, he can use the power of voice command to scan a slide hands-free. Both options are available within the free version.
What’s Required to Download SlideScan
Following is the list of items that you need to get, before proceeding on the way to download the SlideScan app on your computer.
- An Android emulator e.g; LDPlayer, Nox, BlueStacks
- A minimum of 4GB RAM and 5GB free disk space.
- Active internet connection on a computer.
BlueStacks vs Nox
| BlueStacks | Nox App Player |
| Consumes fewer amount of RAM | Consumes 53% more RAM than BlueStacks. |
| 10% CPU consumption. | 37% CPU consumption. |
| The minimum boot time is 9 sec. | The minimum boot time is a lot more and 133% slower. |
| Installs APK files as soon as 9 seconds. | Takes double the time to install an APK file. |
Which Emulator You Should Get?
It is said that BlueStacks is more efficient than Nox App Player. And I’ve tested these two emulators on my computer and found that the reviews on the internet are true.
While emulating Android OS using BlueStacks, I experienced that this program doesn’t really affect my device’s performance.
Whereas, Nox affected my device’s performance a lot. That’s why my personal recommendation is that you should opt for BlueStacks.
How Do I Download SlideScan for Windows PC and Mac?
Time needed: 6 minutes
BlueStacks emulator can be downloaded on Windows and Mac devices that have at least 4GB RAM. And it asks you to have at least 5GB of free storage, to enjoy a lag-free interface.
- BlueStacks Installation
i. Open a web browser and visit the official Bluestacks website on it.
ii. Click on the download BlueStacks link.
iii. Launch the downloaded file.
iv. Follow the onscreen prompts to install BlueStacks successfully on your computer. - SlideScan Installation
i. Launch the BlueStacks emulator.
ii. Follow the onscreen instructions until you can see its main interface.
iii. From the Game Center, click on the Play Store’s icon.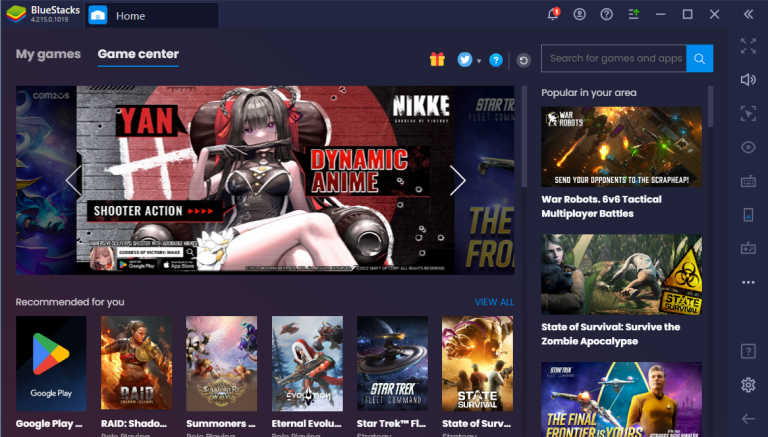

iv. Complete the Google Sign-in procedure.
v. Once you have launched Google Play, use it to search for SlideScan.
vi. After launching the app page, click on the Install button.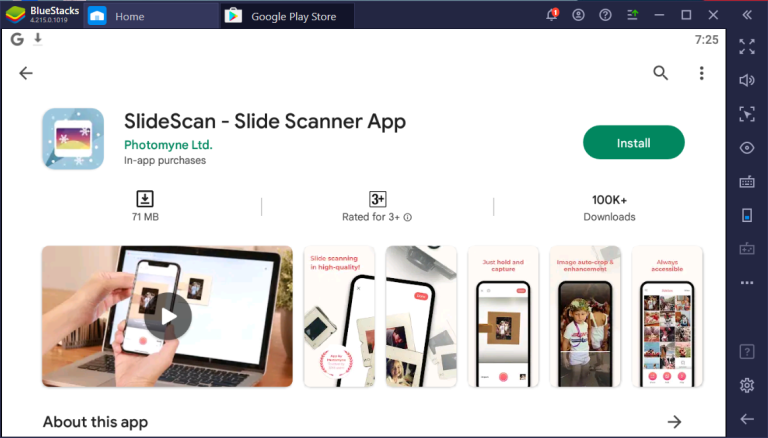

vii. When the application is installed, hit the Open button to launch SlideScan.
The pro version of the app costs you $19.99 a year. But a good thing about SlideScan is that its free and pro versions don’t contain any advertisements.
All of the images uploaded in SlideScan can be exported in the highest resolution possible. Because the resolution may depend on the quality of the uploaded images.
Conclusion
That’s all on how to download SlideScan for PC. The aforementioned guide is for Windows and Mac devices. But if you want to use it on a Linux-Based device, you can opt for the emulators that are available for Linux.